
My Lesson Plans for Teaching about George Washington as a Military Leader SSUSH4c
I’m thrilled to share my lesson plans for teaching about George Washington’s role as a military leader during the American Revolution! This one-day plan is designed for a 90-minute class period, but feel free to adapt it as needed. You know your students best, and the pacing may look a little different in your classroom.
If you’ve been here before, you know how much I love blending ELA skills with social studies content. You’ll see that many of the activities in this lesson draw on nonfiction reading and RI standards to deepen students’ historical understanding while strengthening literacy skills at the same time.
We’re covering SSUSH4c. Analyze George Washington as a military leader, including but not limited to the influence of Baron von Steuben, the Marquis de LaFayette, and the significance of Valley Forge in the creation of a professional military.
FREE Printable Version
Get this lesson plan and materials in the printable version
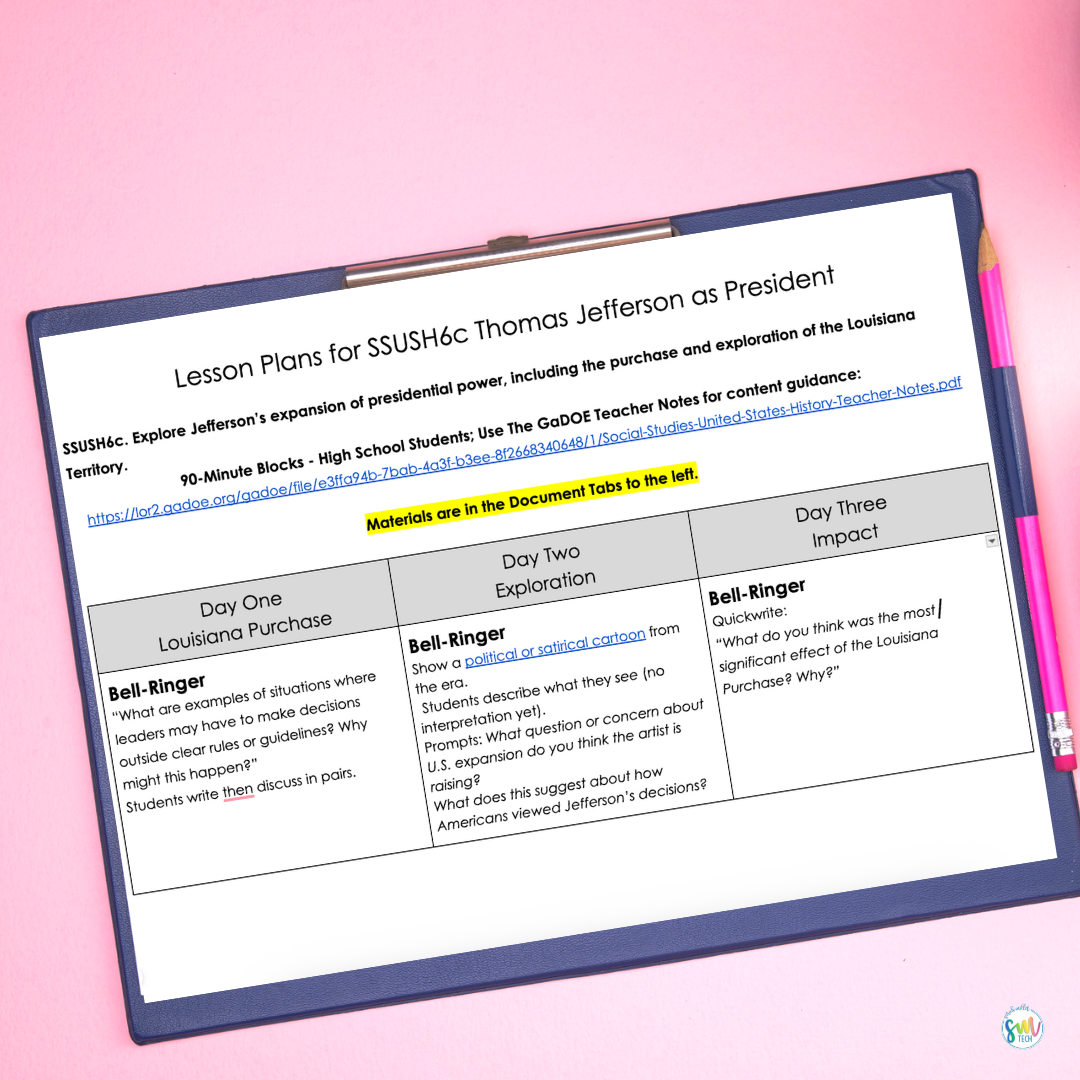
Bell-Ringers
In your opinion, what makes a strong military leader? List 3 traits and explain why one is most important.
Optional: Sentence stems for support
Optional: Advanced students: compare traits needed in the 1700s vs. modern day
Students write, then discuss in pairs.
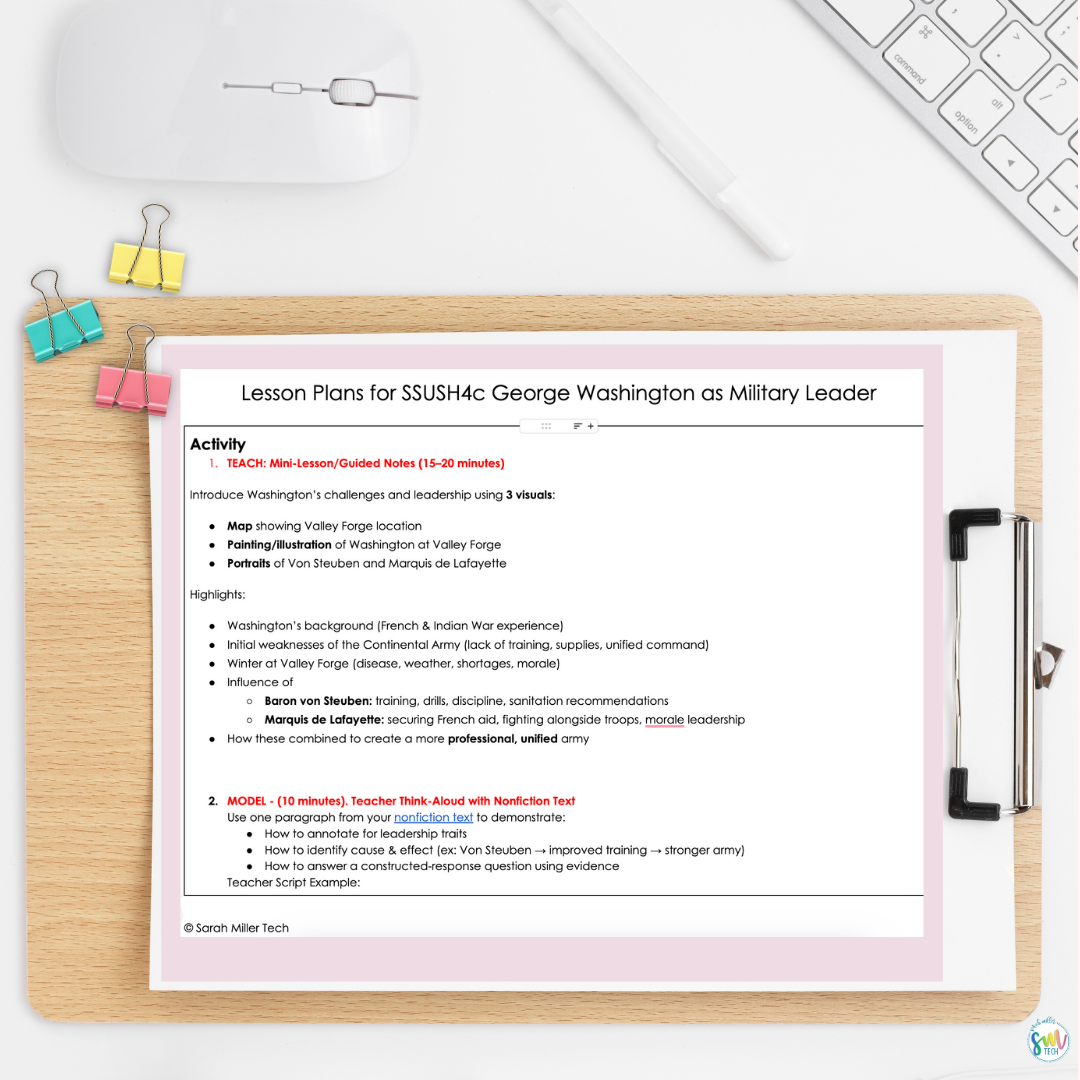
TEACH:
Mini-Lesson/Guided Notes (15–20 minutes)
Introduce Washington’s challenges and leadership using 3 visuals:
Map showing Valley Forge location
Painting/illustration of Washington at Valley Forge
Portraits of Von Steuben and Marquis de Lafayette
Highlights:
Washington’s background (French & Indian War experience)
Initial weaknesses of the Continental Army (lack of training, supplies, unified command)
Winter at Valley Forge (disease, weather, shortages, morale)
Influence of
Baron von Steuben: training, drills, discipline, sanitation recommendations
Marquis de Lafayette: securing French aid, fighting alongside troops, morale leadership
How these combined to create a more professional, unified army
2. MODEL - (10 minutes). Teacher Think-Aloud with Nonfiction Text
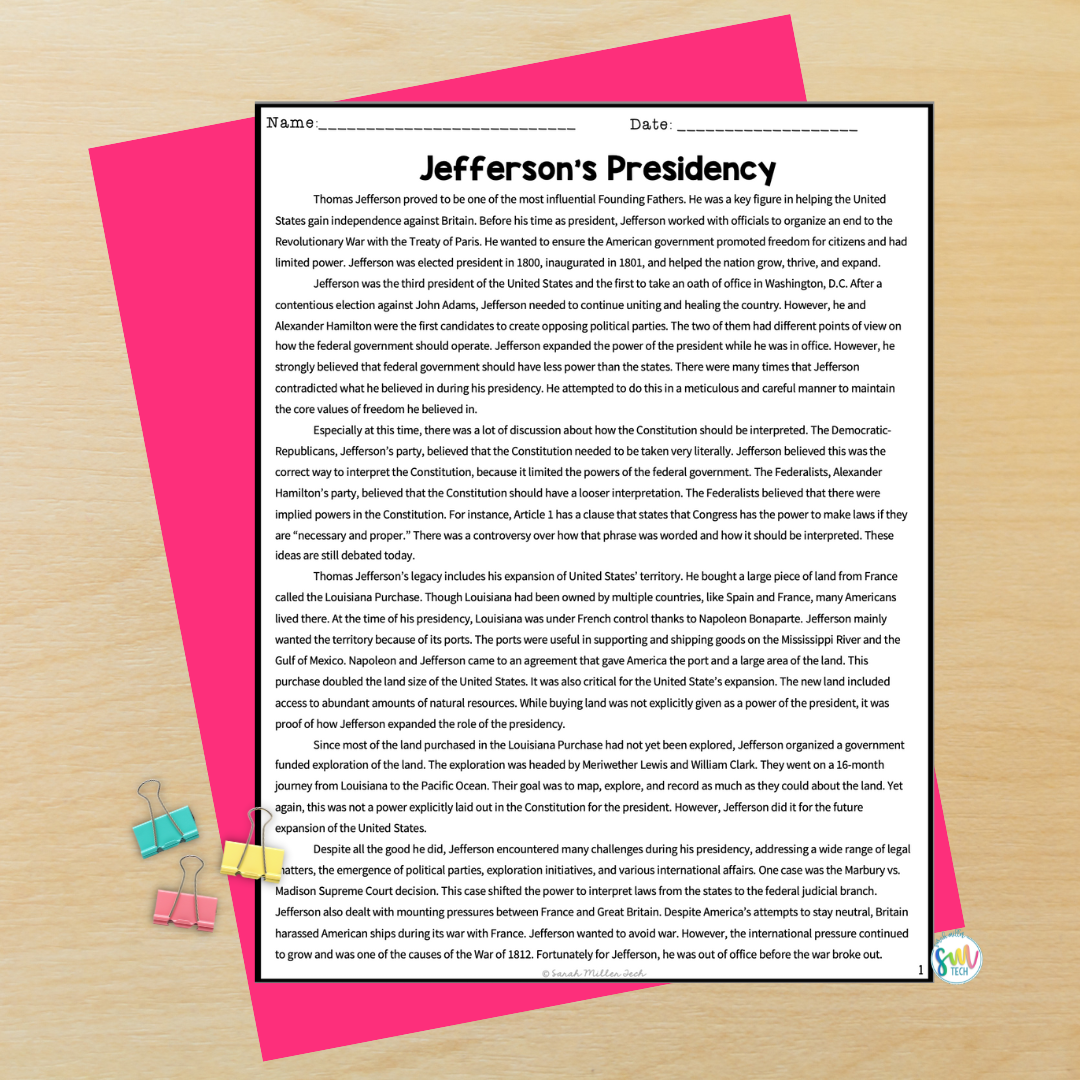
Use one paragraph from your nonfiction text to demonstrate:
How to annotate for leadership traits
How to identify cause & effect (ex: Von Steuben → improved training → stronger army)
How to answer a constructed-response question using evidence
Teacher Script Example:
“Here, Washington is described as ‘instrumental’ and recognizing the army was weak. I’m highlighting that because it shows his awareness and strategic thinking. Next, when it says he reorganized the army, I note this as evidence of leadership…”
This sets students up for independent practice.
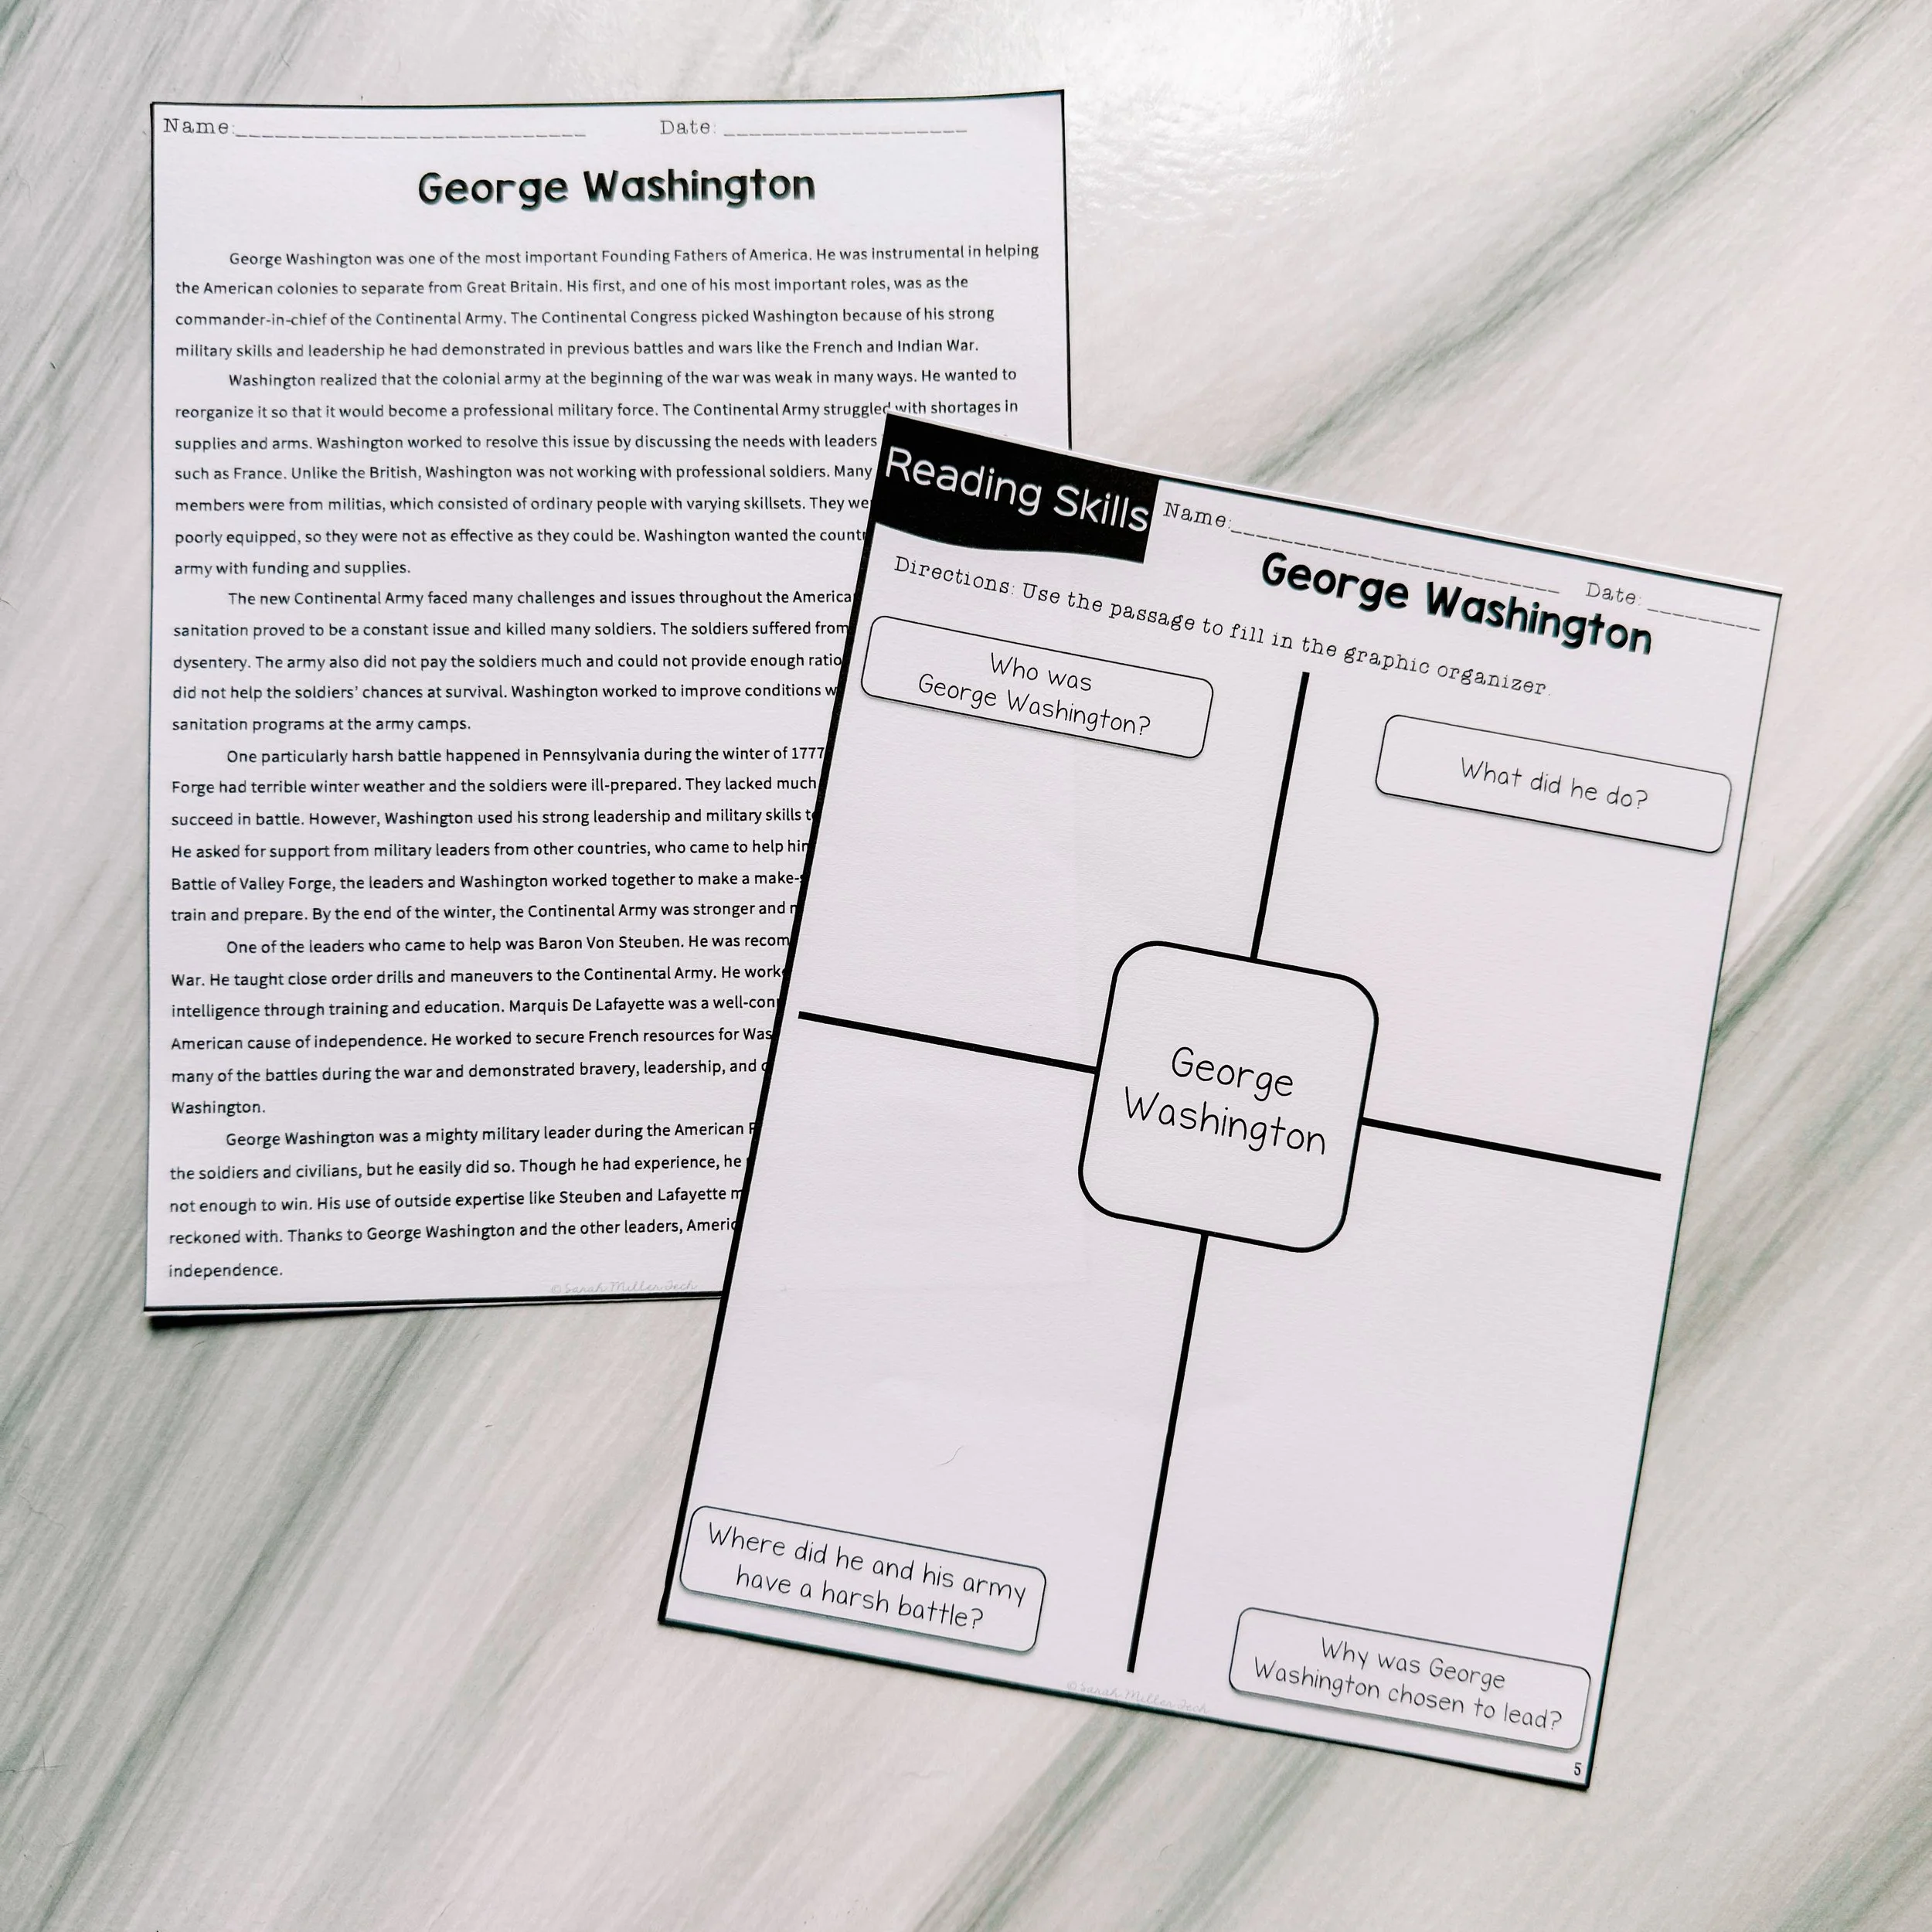
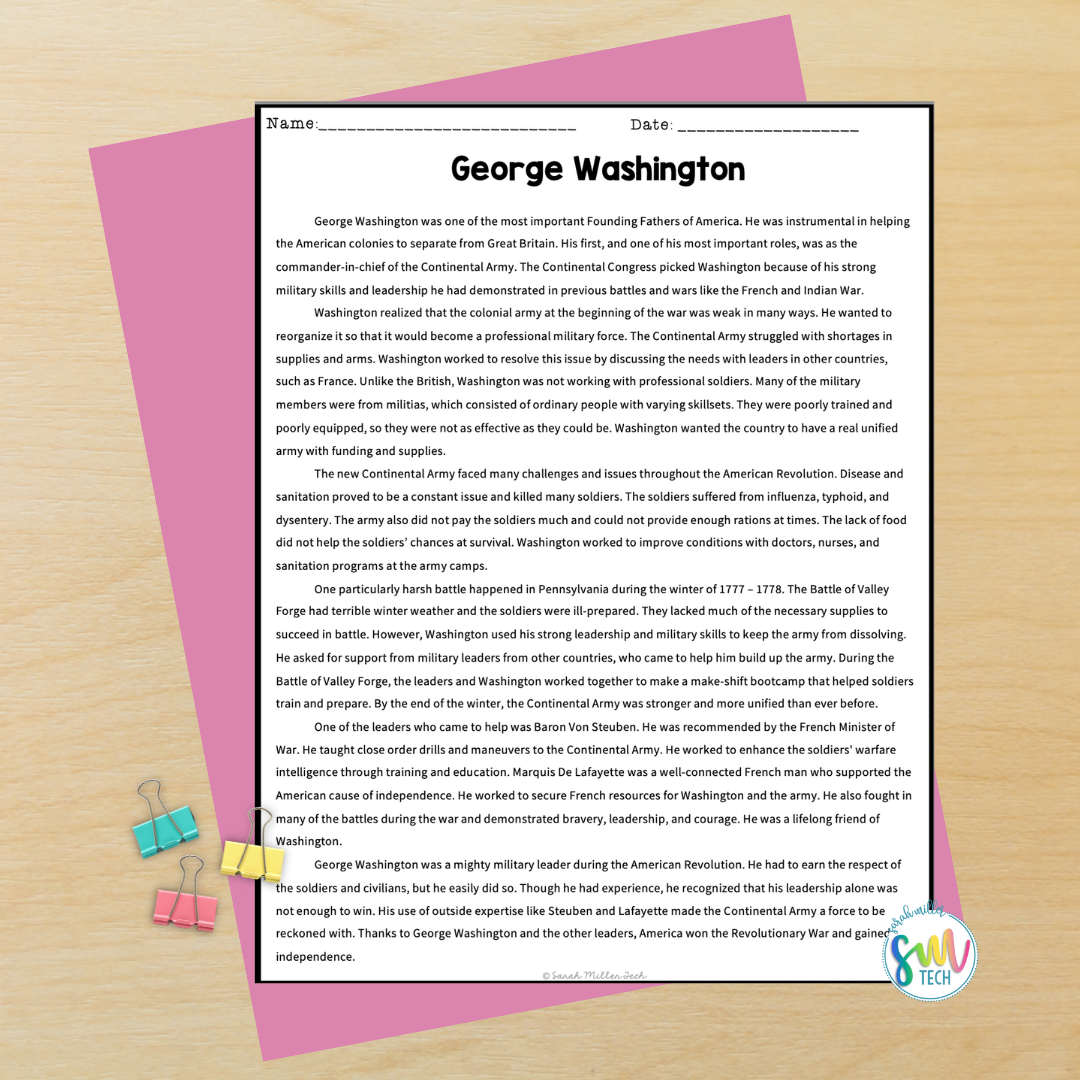
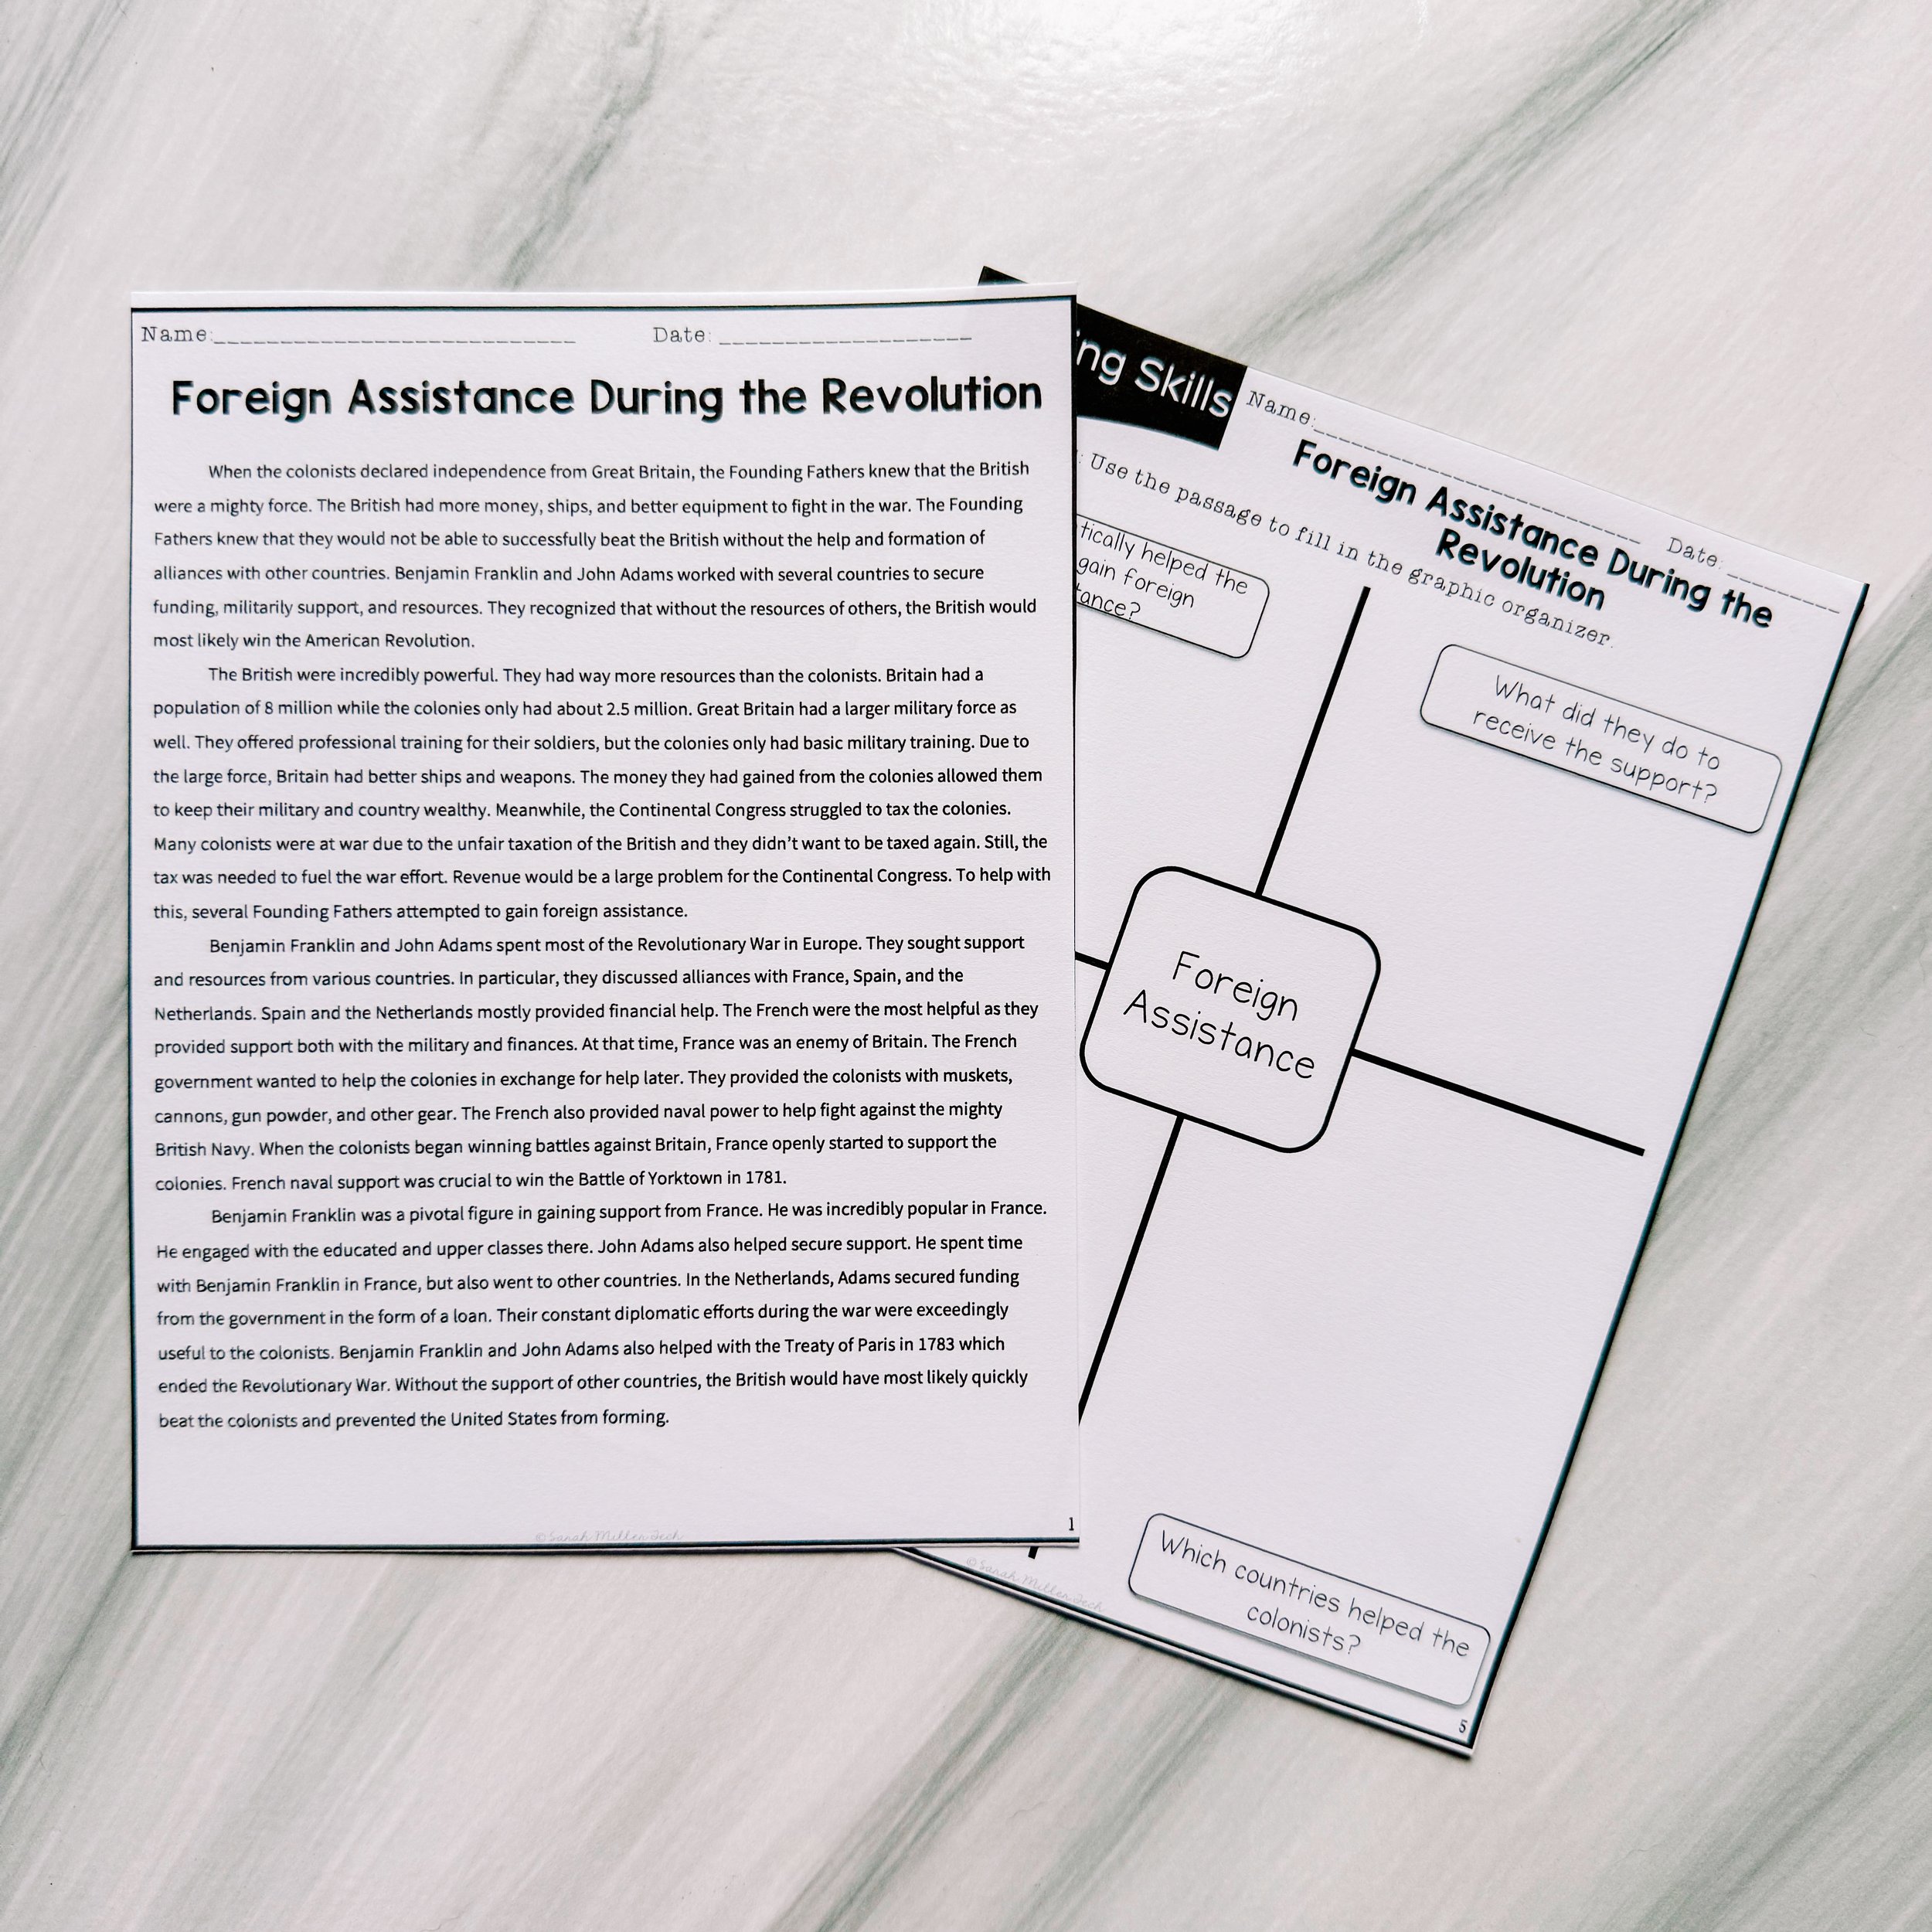
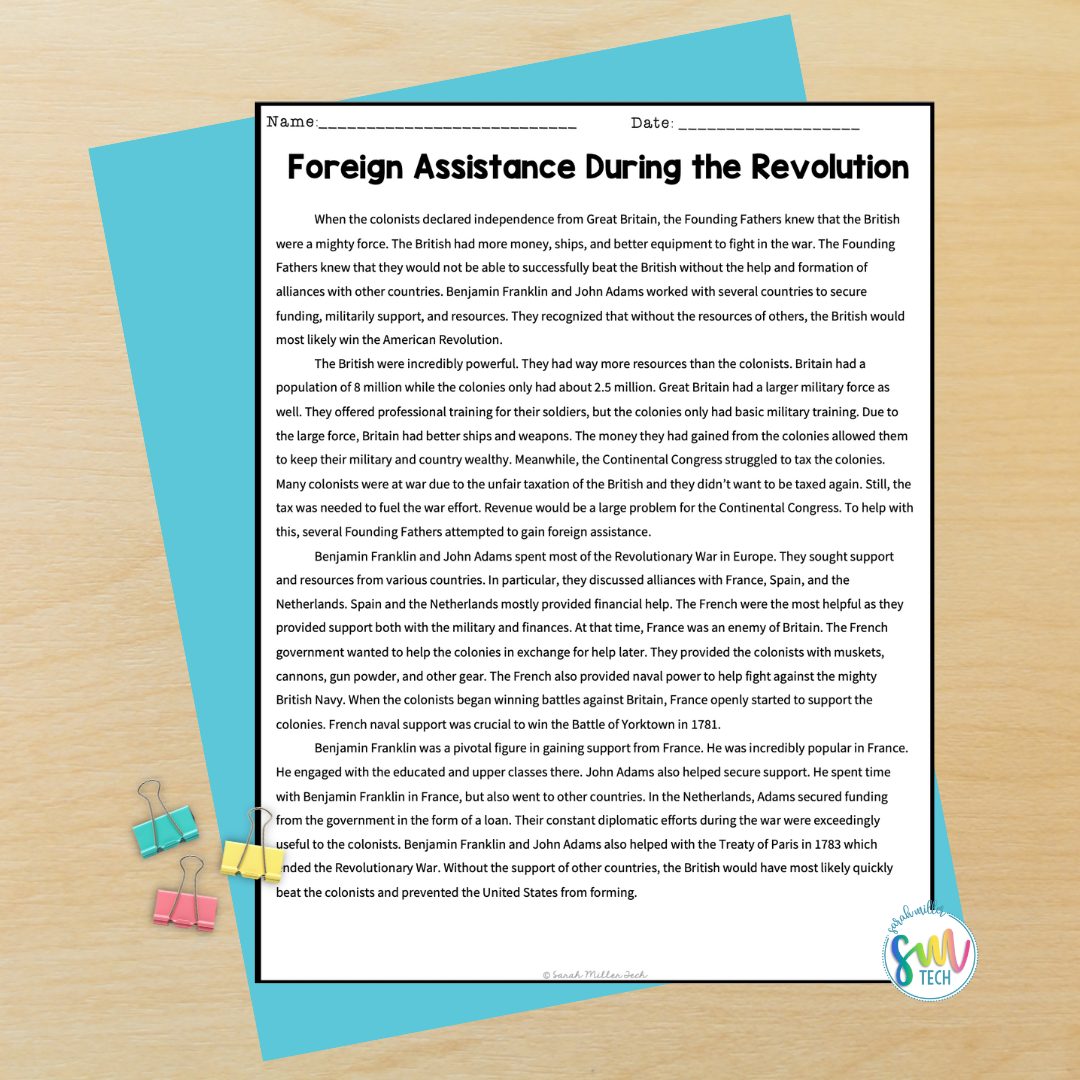
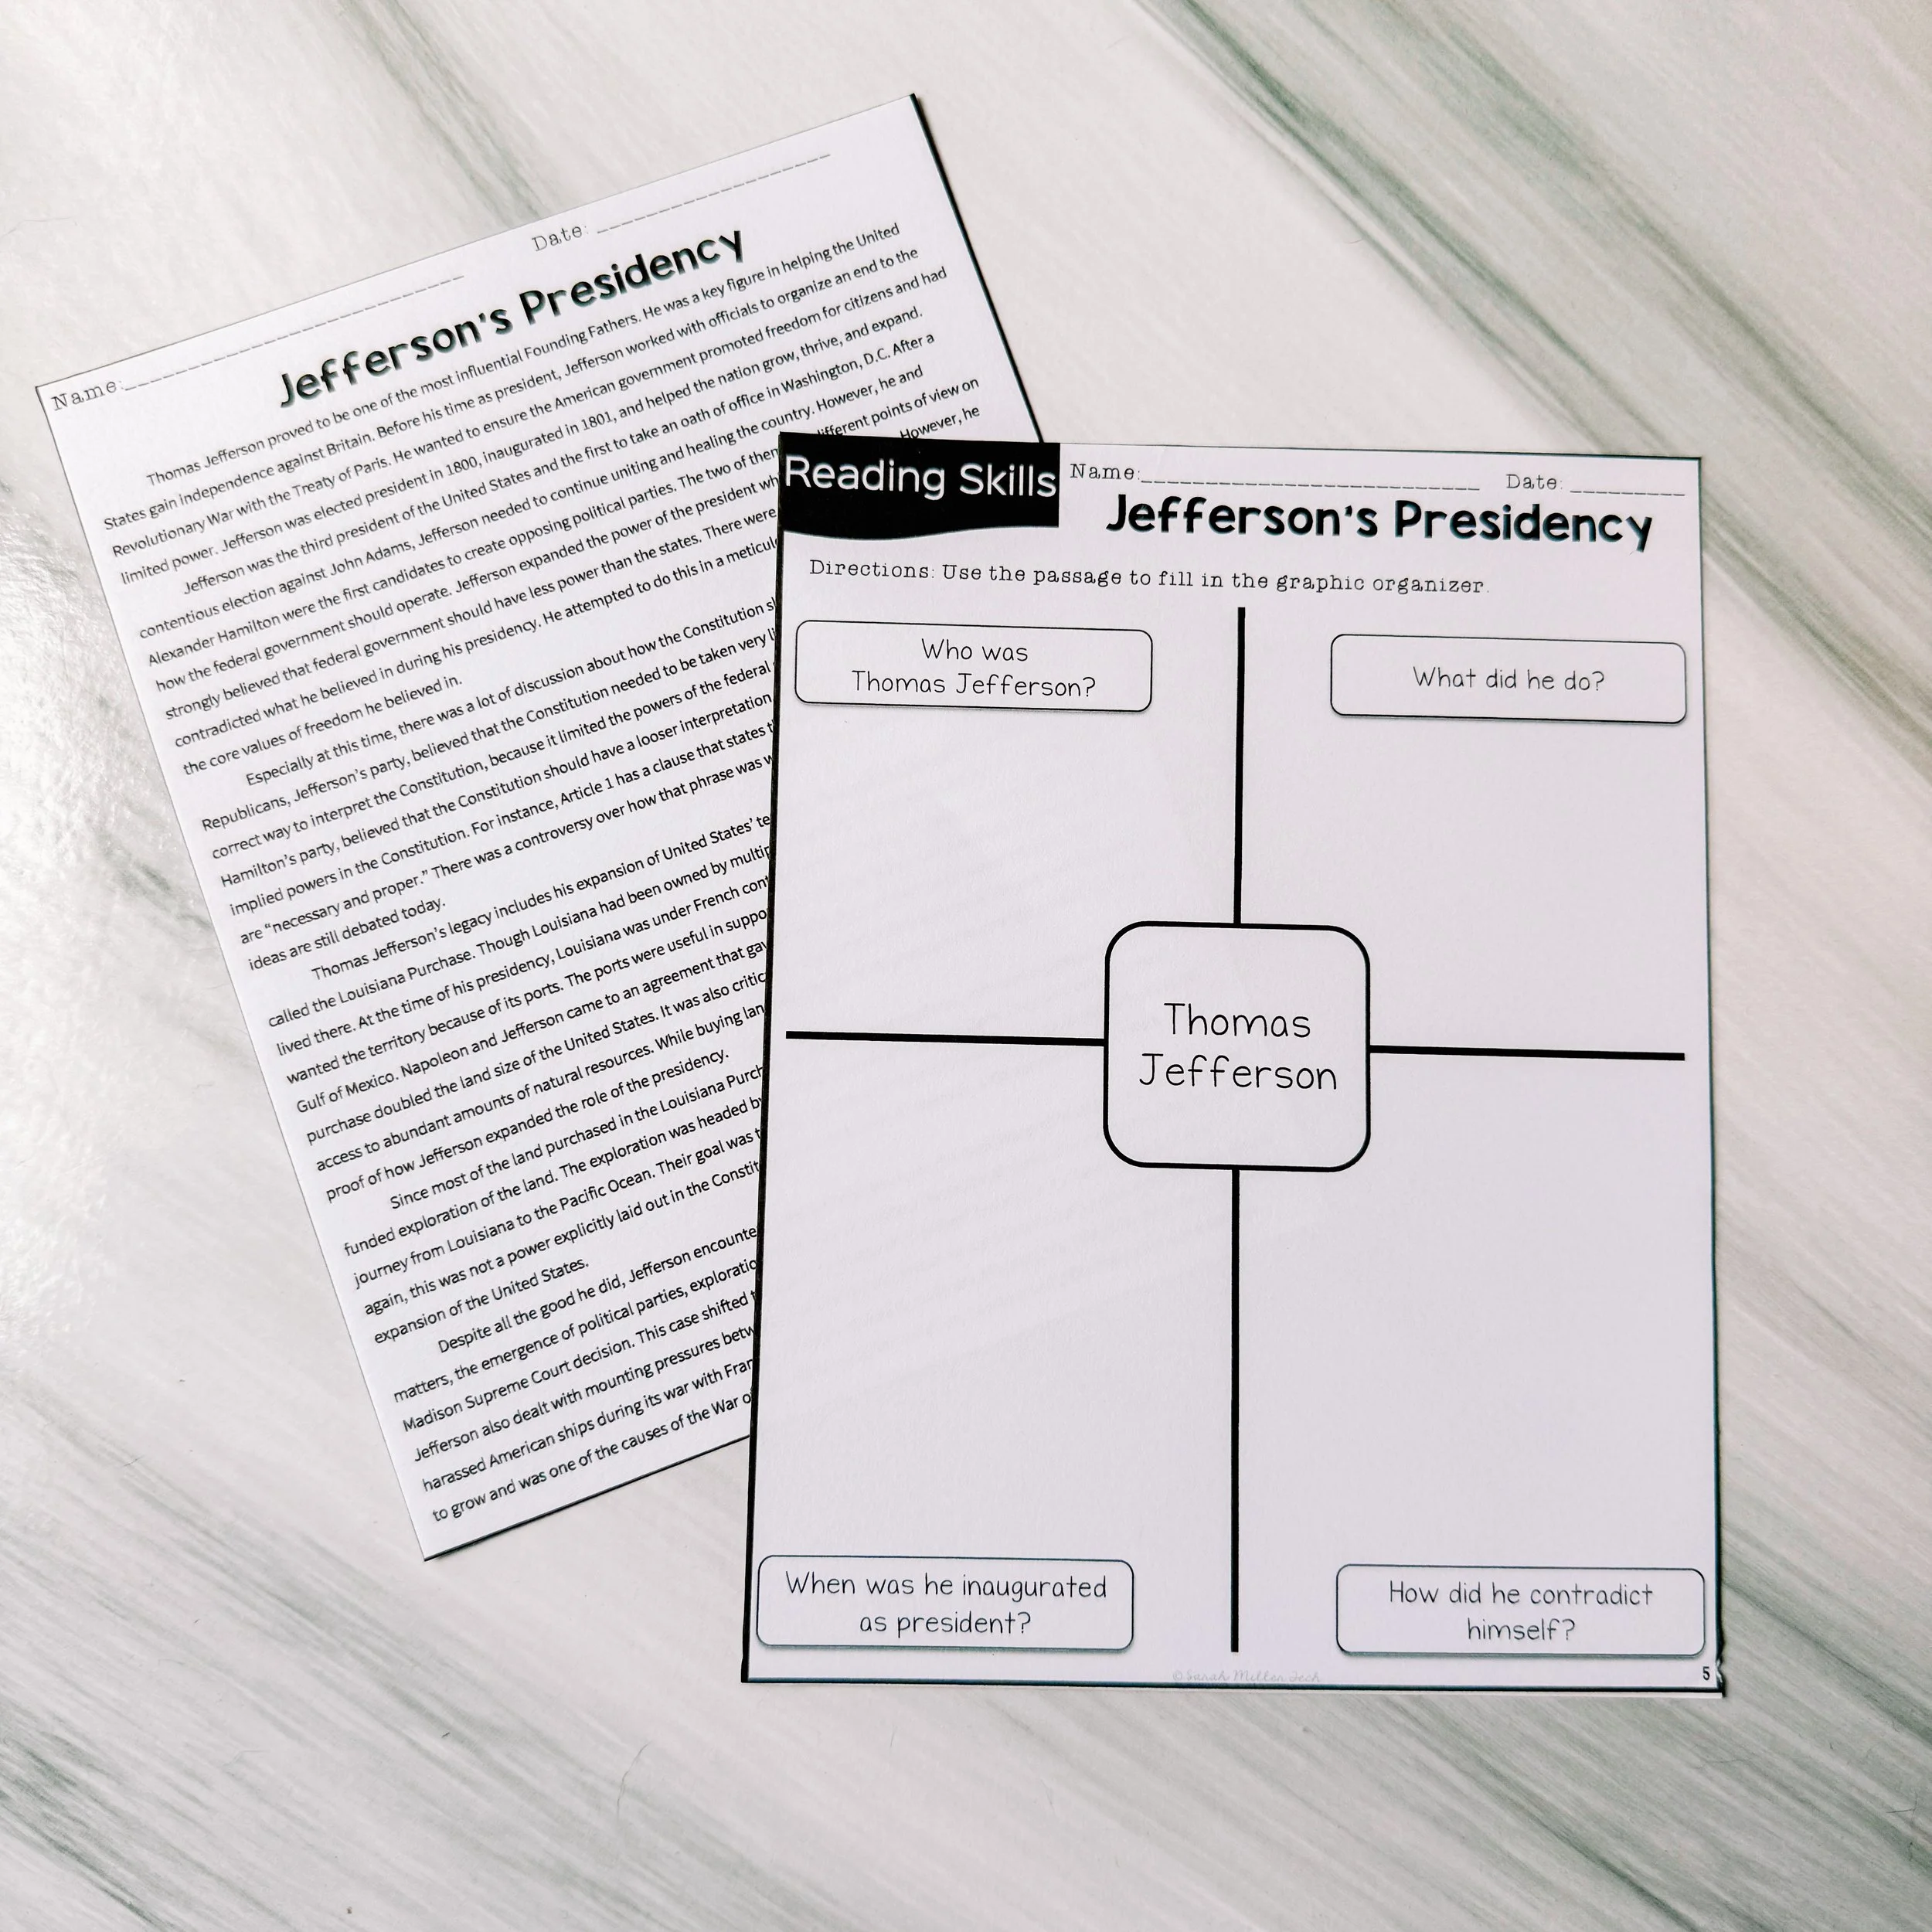
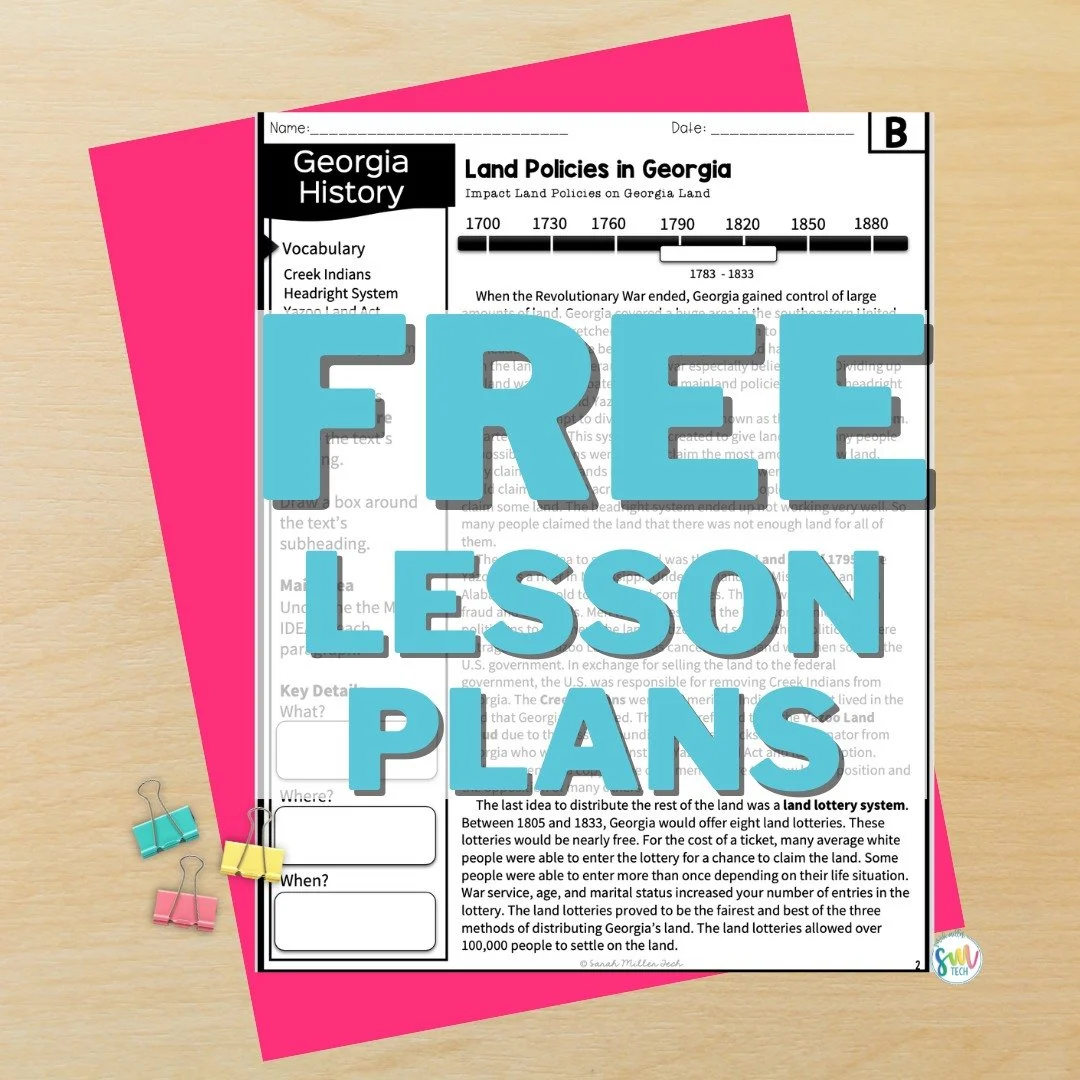
3. PRACTICE Part 1 - Nonfiction Reading & Annotation (20 Minutes). Read (independently or in pairs) the nonfiction reading packet, annotate, and complete the graphic organizer on pg. 7. Discuss whole-group.
Task: Annotate for the following:
Washington’s leadership actions
Challenges faced by the Continental Army
Contributions of Von Steuben
Contributions of Lafayette
Significance of Valley Forge
Supports:
Chunk the reading with small “pause-and-jot” boxes
Provide vocabulary support (militia, drill, rations, sanitation, etc.)
Extension:
Annotate for long-term military impacts
Annotate for relationships between foreign leaders and Washington
4. PRACTICE Part 2- Nonfiction Reading Multiple Choice & Writing Prompt (20 minutes) Complete pages 4-5 of the nonfiction reading packet.
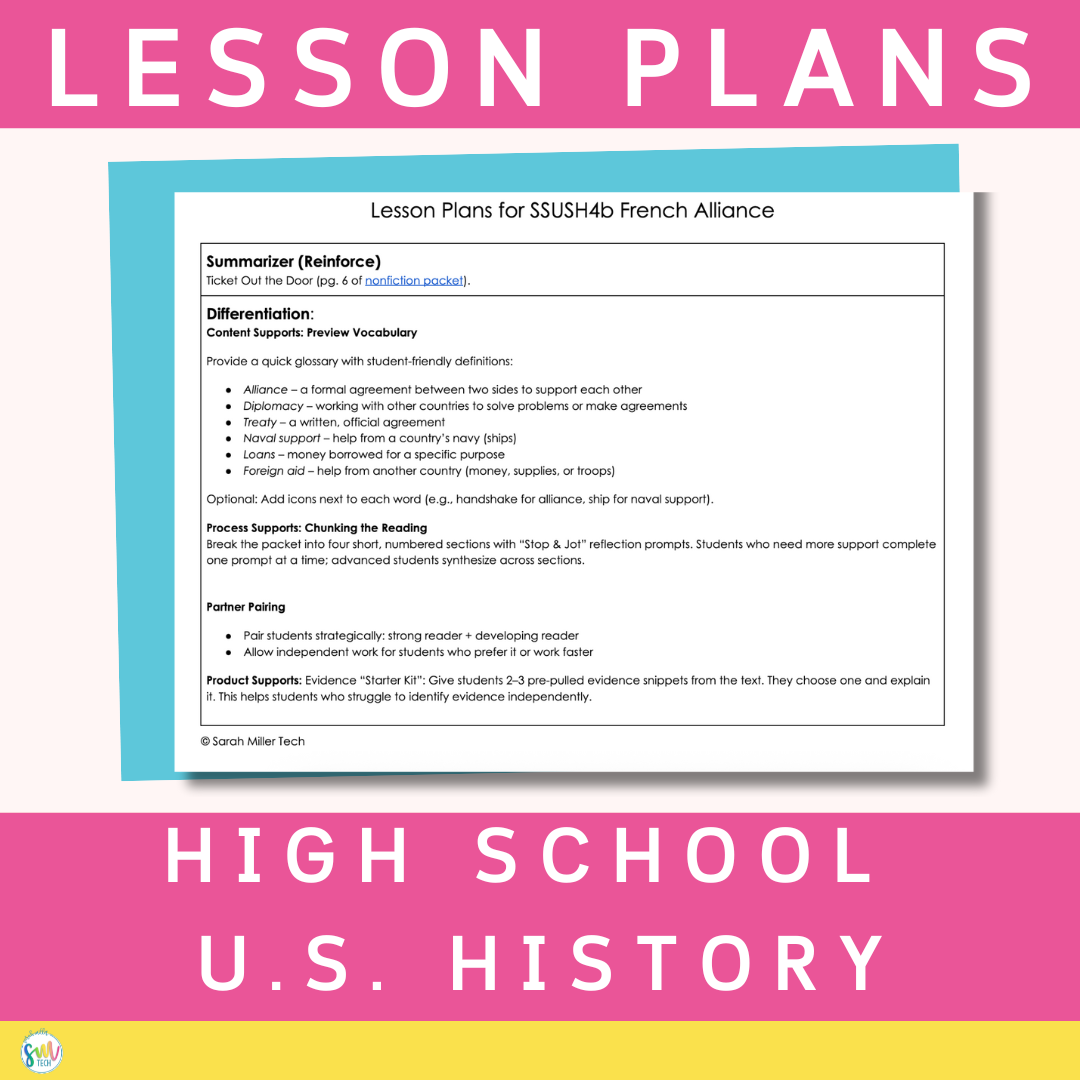
Summarizer (Reinforce)
Ticket Out the Door (pg. 6 of nonfiction packet).
As a class, create a 5-item “Professional Army Checklist” that Washington would need to win the war, based on the evidence.
Checklist might include:
Standardized training
Unified command structure
Adequate supplies & sanitation
Foreign military support
Improved morale & discipline
Differentiation Ideas
For Struggling Readers
Vocabulary front-load
Chunked text with guiding questions
Sentence stems (e.g., One challenge was…, Von Steuben contributed by…)
Teacher-created guided notes
Option to annotate digitally with text-to-speech
For English Learners
Word banks
Images for every key figure
Partner reading
Graphic organizer with icons
Simplified constructed-response option
For Students Who Need Behavioral/Executive Support
Timer for each segment
Color-coded tasks
Checklists for reading + questions
Clear expectations for group roles or paired reading (leader, mapper, evidence gatherer, reporter)
Partner Pairing
Pair students strategically: strong reader + developing reader
Allow independent work for students who prefer it or work faster

FREE Lesson Plan Printable
Grab this lesson plan and in the printable version.


